Creating content
creating-content #EIFE version 0.1 | 1m 24s Read time
To create content you need first to be logged in to your site and have the appropriate roles.
- In the black menu bar at the top, go to Manage > Domain Content.
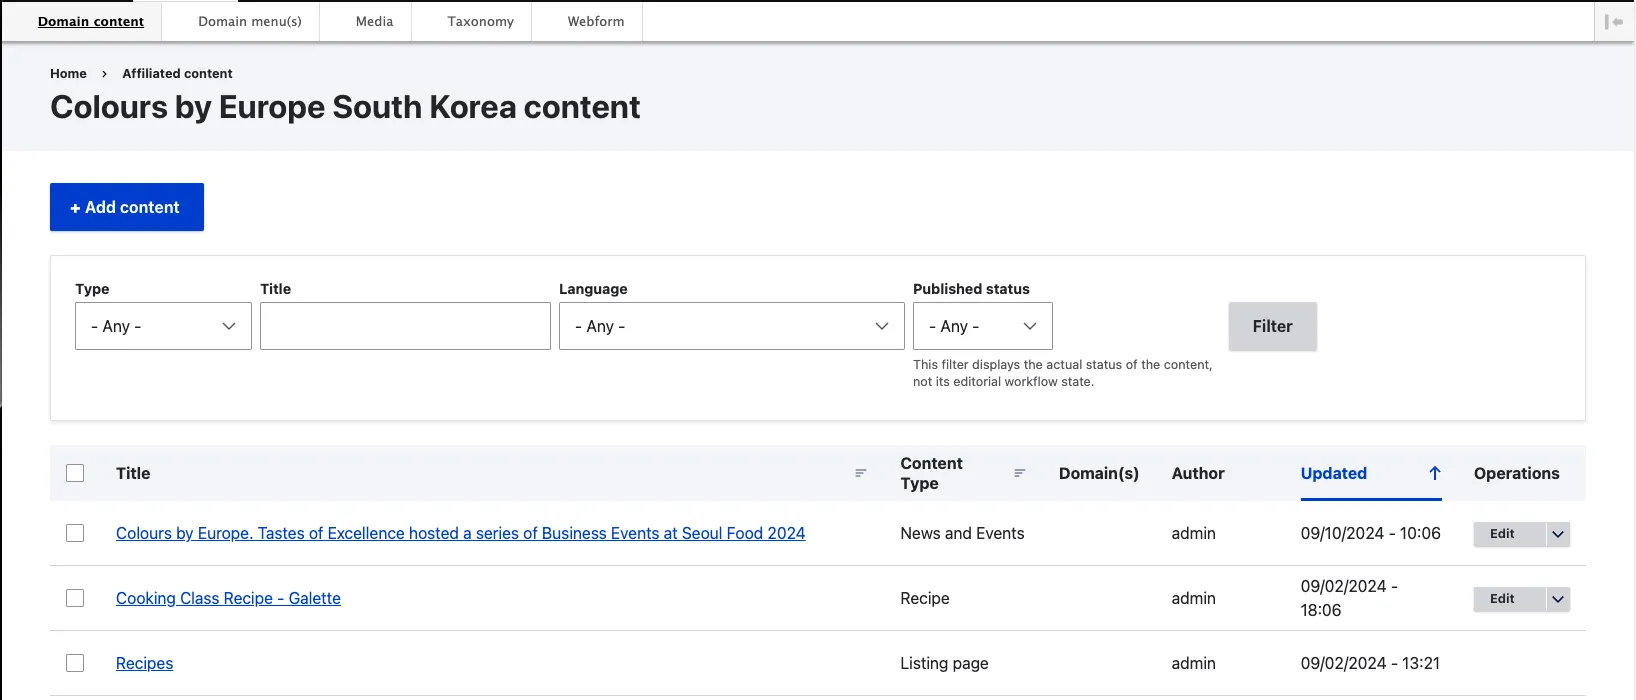
- This will take you to the content dashboard, where you can view all content already created for your country site.
- The domain content dashboard includes sub-boards categorised by country site. If your organisation manages more than one campaign, you will see multiple entries. Each entry displays a content count, indicating the number of content pieces available in each country site.
- By clicking on the domain name, you will access the dedicated content dashboard for your country site.
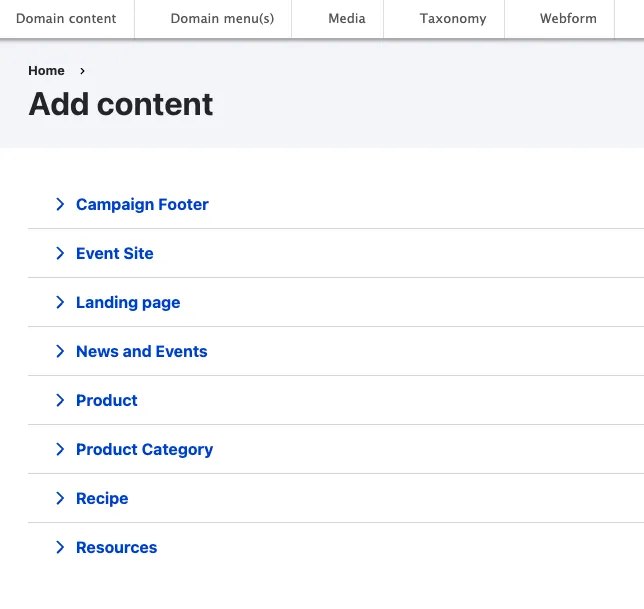
- Click the ‘Add Content’ button.
- Select the content type you want to use for this content, for example “Landing page”
- Fill in all fields relevant to the content you are creating.
- Fields marked with a red asterisk (*) are mandatory and cannot be left empty. If you attempt to save your work with any mandatory fields unfilled, you will receive an error message, and your content will NOT be saved until you complete all required fields.
- In specific circumstances, this restriction can be bypassed by removing the entire content item—this functionality is usually noted in the field description.
- The interface used to create and edit content is known as the content edit form.
- TABS: Please be aware that there are tabs at the top of the form containing additional groups of fields. EIFE utilises this tabbed edit form to simplify the editing process by organising the fields more efficiently and minimising the need for constant scrolling. The ‘content’ and ‘metadata’ tabs will appear on all content types, with additional tabs potentially available depending on the type of content.
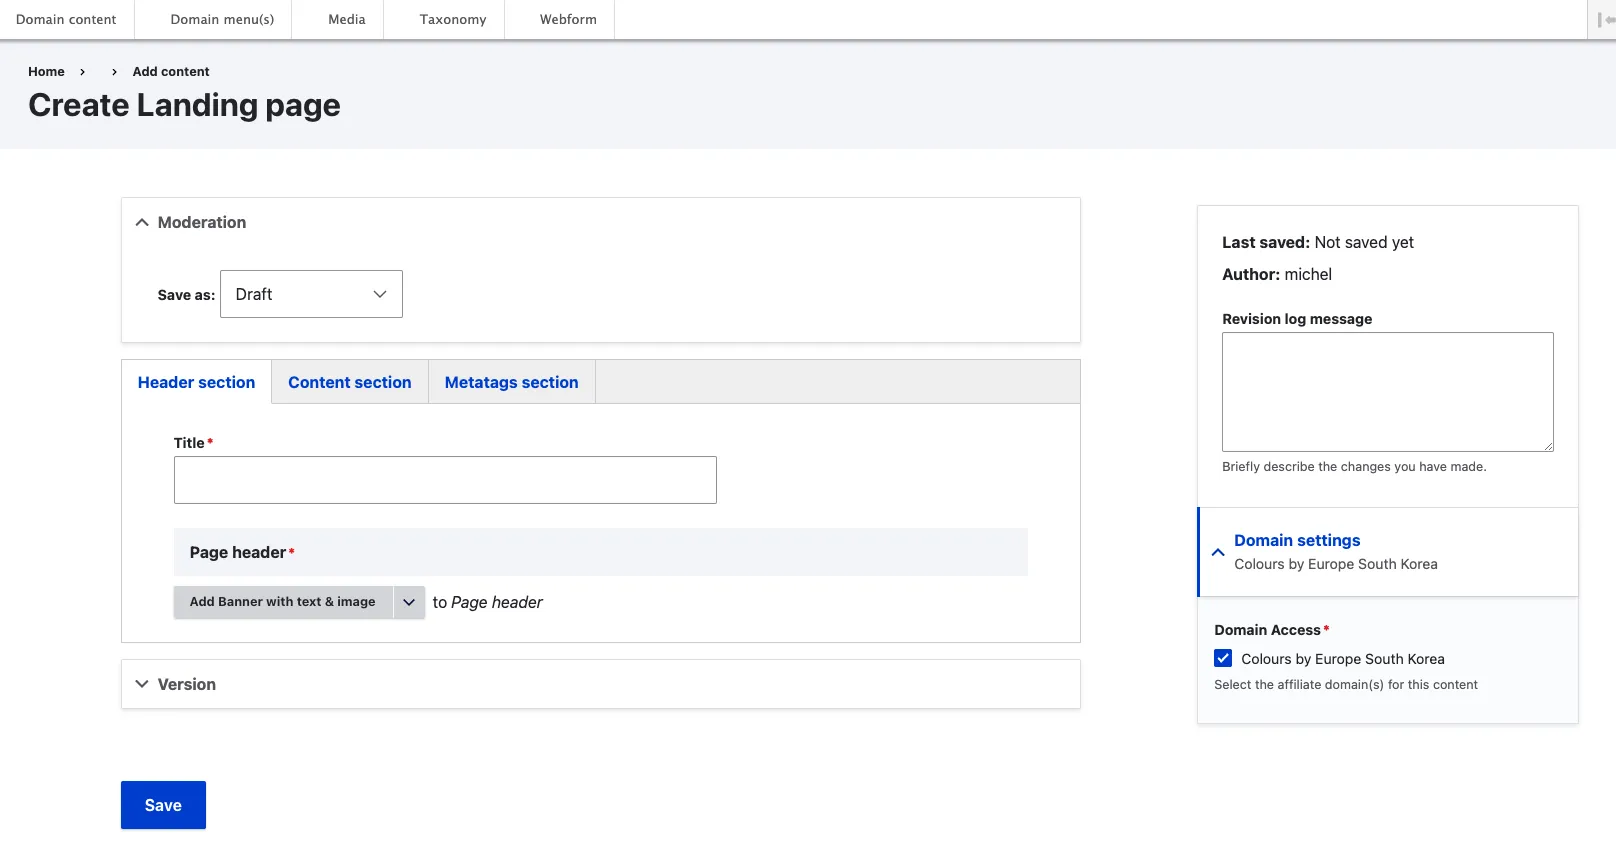
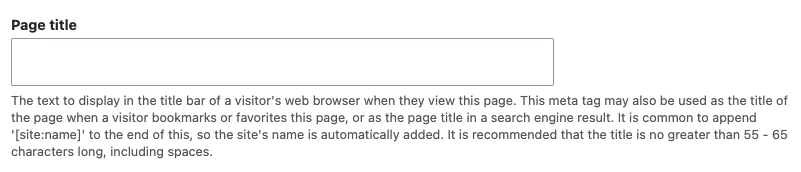
- There is help text in light grey under the fields to inform you of specific/allowed formats to use if any, and to provide general information use for that specific field.
- Once your content is filled in, click the ‘Save’ button.
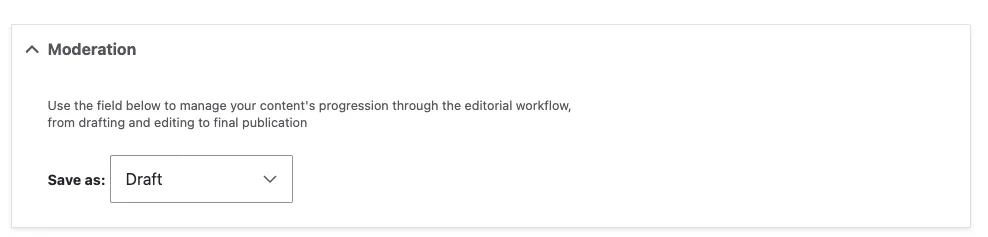
- If all mandatory fields have been provided, the system will save your new content as draft